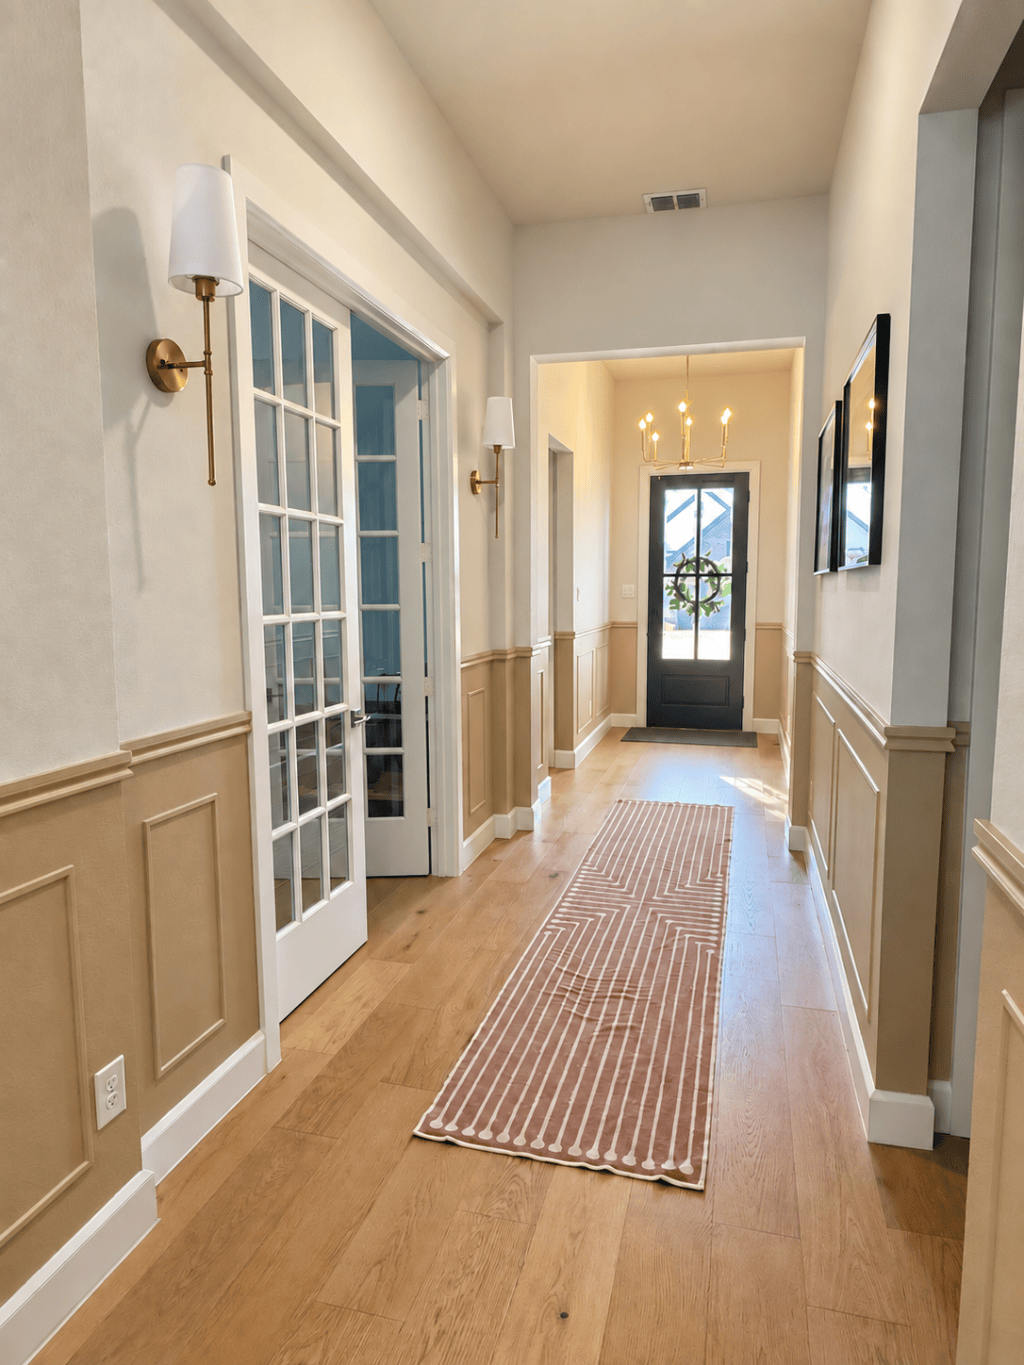
Our entryway is one of my favorite parts of our house. It has 10-foot ceilings, it’s long, and it separates the front of the house from everything else in a way I really love.
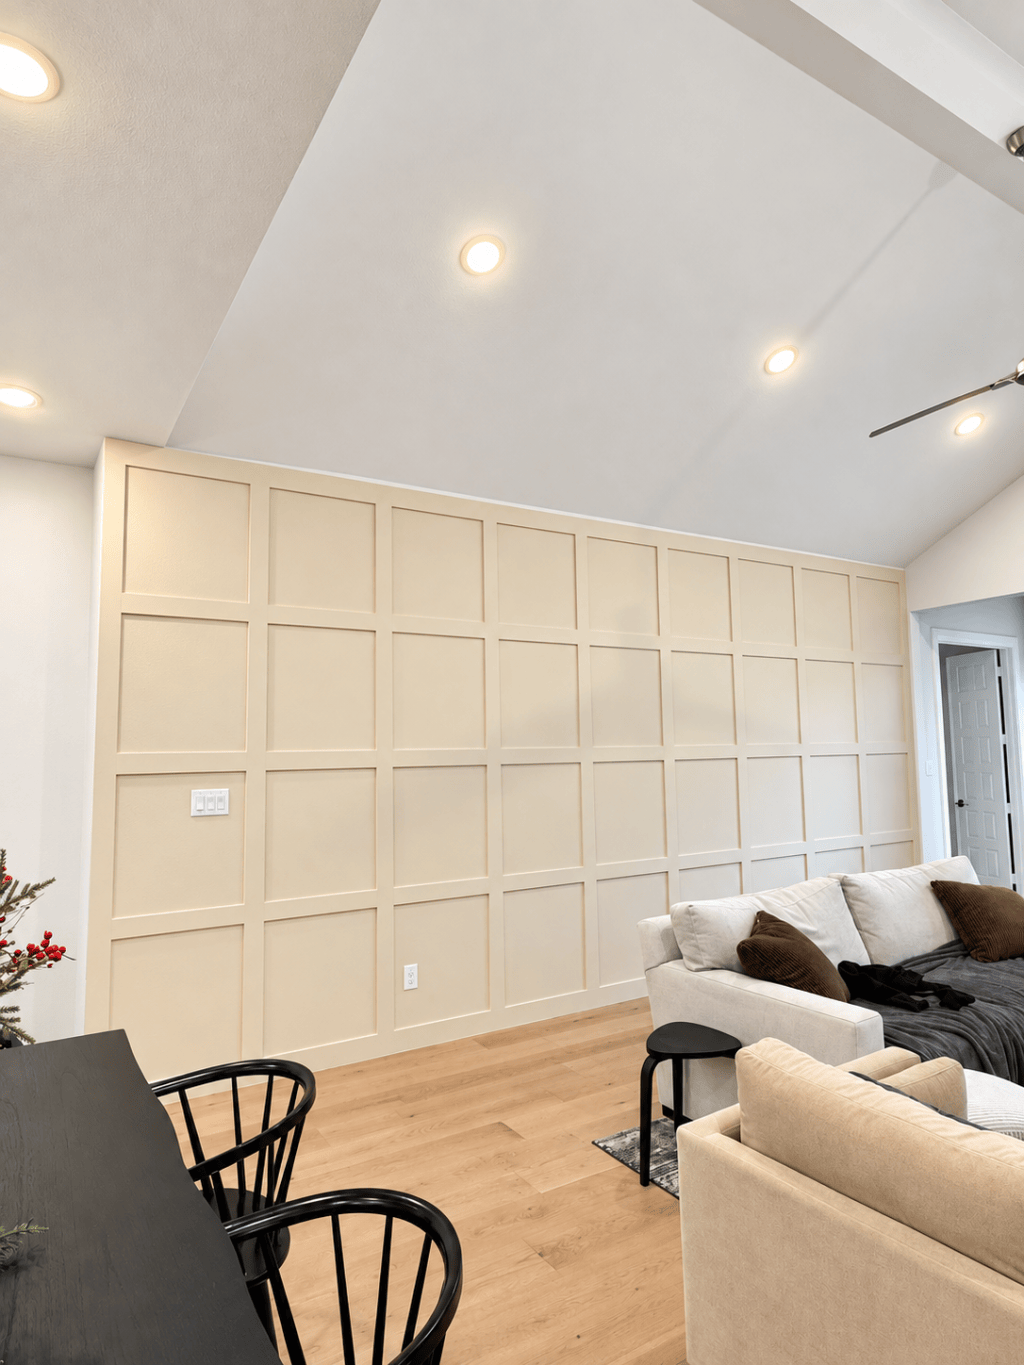
It also had the same problem as our living room wall: with kids and two dogs running through it every day, the lower half of the walls got dirty fast.
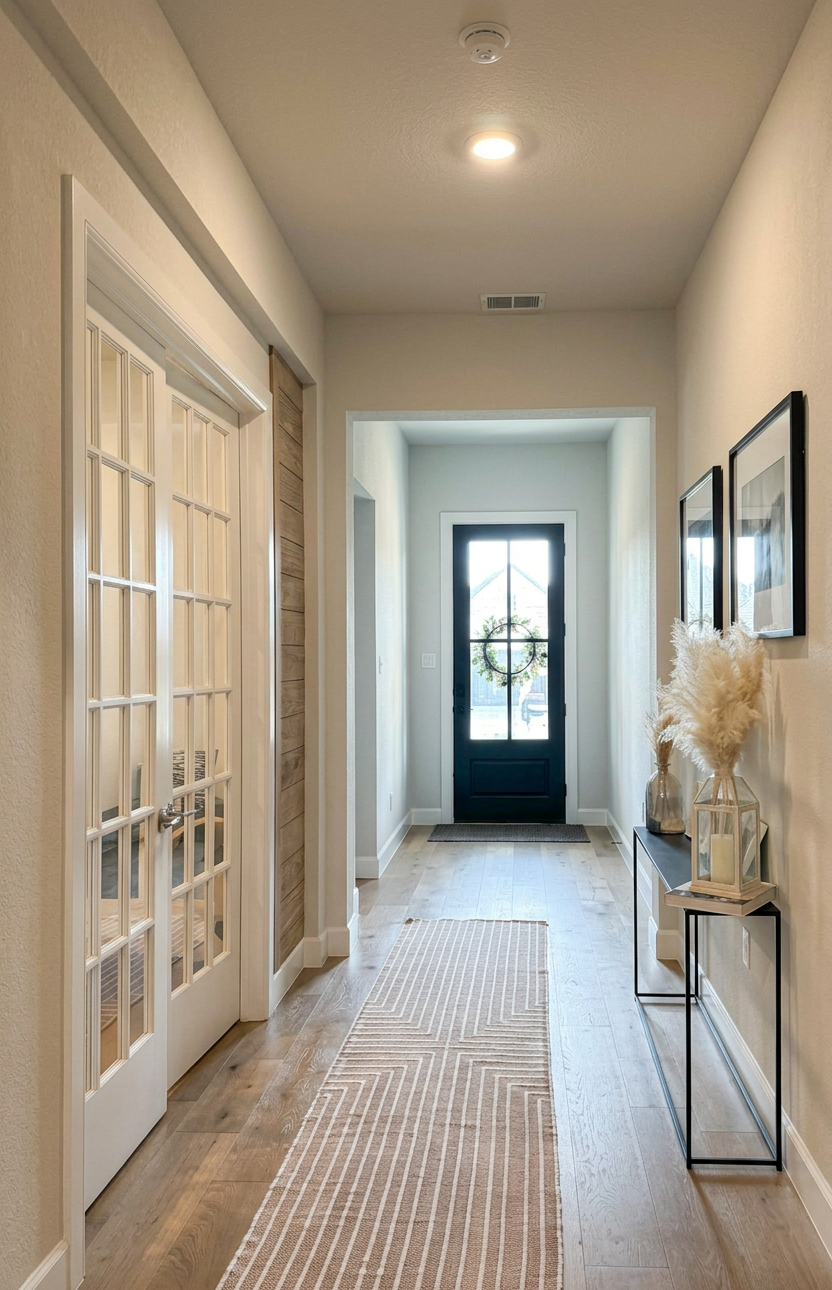
And my entry table, which I had styled with all of my favorite decor, felt cluttered. Things kept getting knocked over and broken.
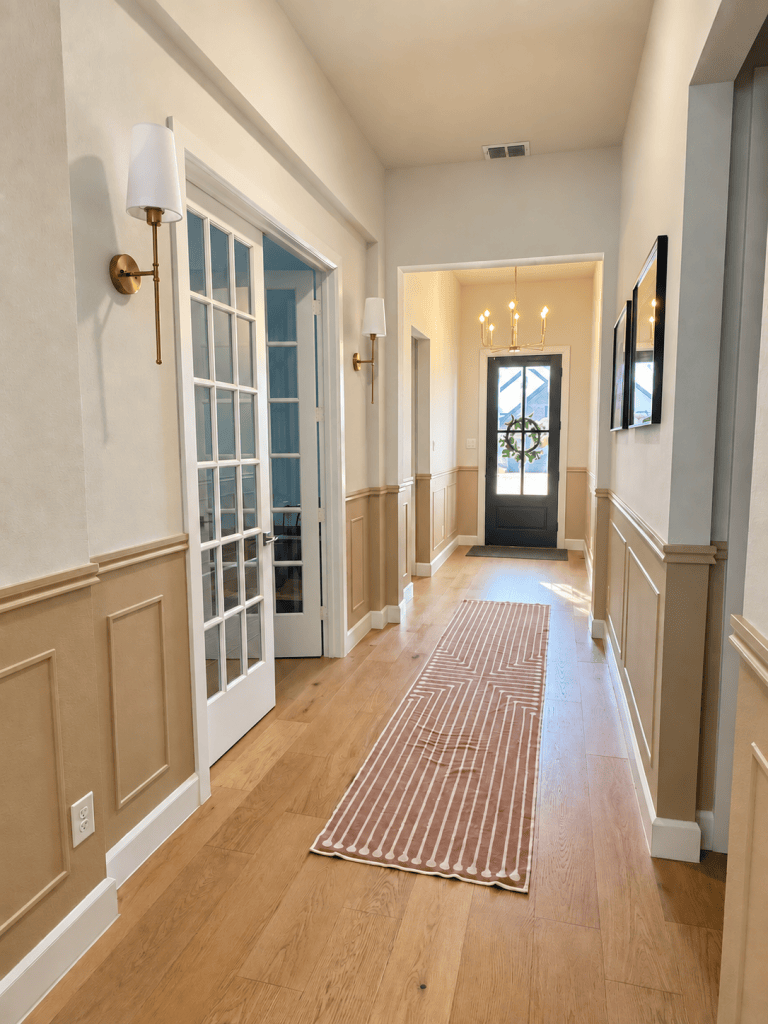
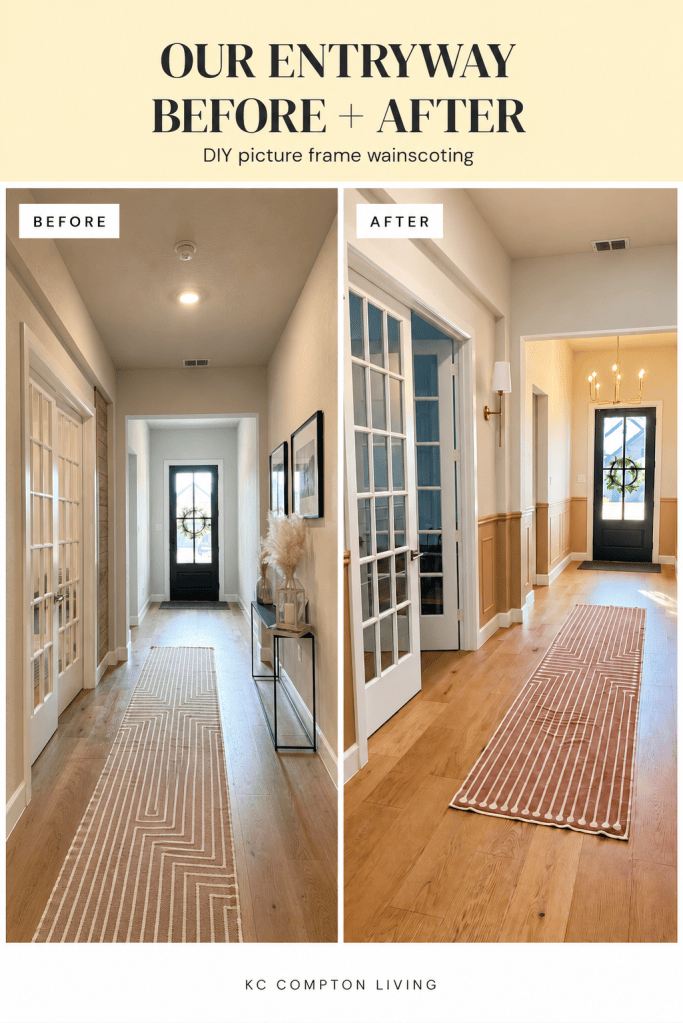
So the entryway became our next project: picture frame wainscoting on the lower walls, a new light fixture and a lot less on the table.
Bold or Subtle?
I went back and forth on this one for a while.
An entryway this size could easily be a statement space: a bold color, a dramatic wall treatment, something you notice the second you walk in. But this hallway connects to almost every part of our house, and I didn’t want it to compete with everything around it.
Before we bought anything, I made a few mockups to see how different options would look in the actual space. Seeing it laid out made the decision easier.
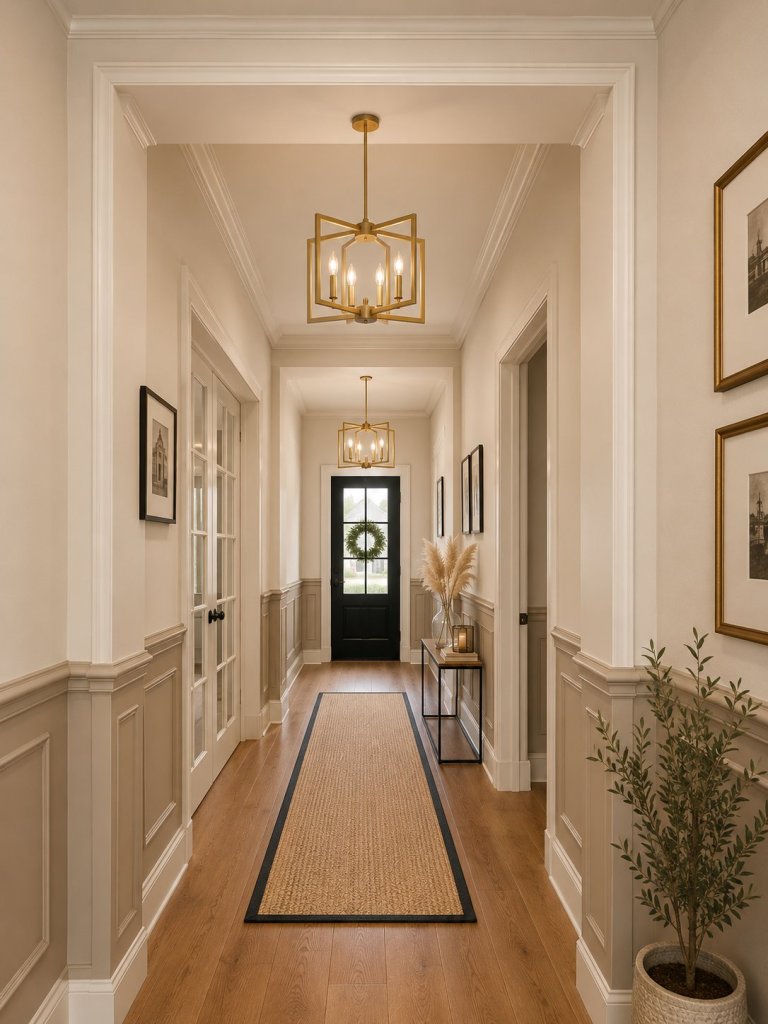
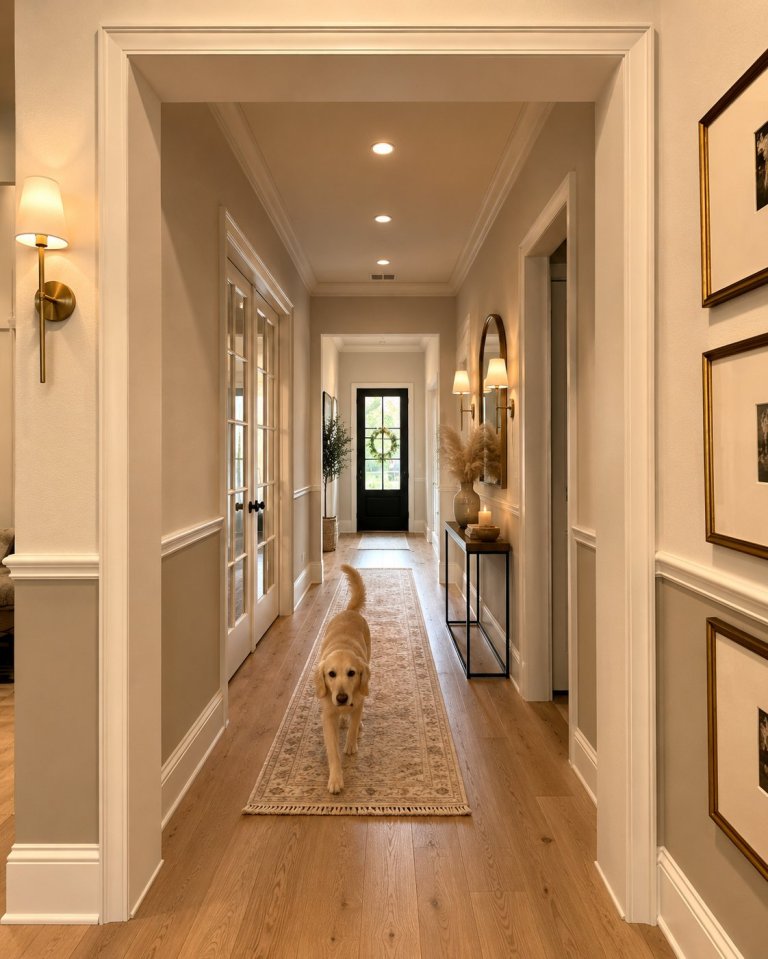
I ended up going subtle. I wanted the wainscoting to take up real estate on the wall and give the space some architecture, without making it feel busy. It also needed to be practical, because this is the most-used hallway in our house.
Why Picture Frame Wainscoting
Picture frame wainscoting is a chair rail around the room with smaller trim boxes underneath it. It adds detail to a plain wall without closing the space in, and the lower half of the wall ends up painted, which is much easier to wipe down than builder-grade flat paint.
For a long hallway with tall ceilings, it also gives your eye somewhere to land.
How We Installed It
Step 1: Measure Everything and Keep the Baseboards
Before we cut anything, I measured the entire entryway so we could plan the layout for every wall, including the sections between doorways.
On our board and batten wall, we removed the baseboard so all the trim would meet cleanly. We didn’t do that here. With picture frame wainscoting, the boxes sit inside the wall above the baseboard, so there’s no trim running into it. Leaving the baseboards in place saved us a lot of time.
Step 2: We Added the Chair Rail All the Way Around
First, we installed a trim piece at the midpoint of the wall and ran it all the way around the entryway. That line sets the height for everything else.
This time, we used a laser level. After measuring and leveling everything by hand on our last project, it was the first thing on the list. It made keeping one continuous line through a long hallway, around corners and past doorways much faster and more accurate.
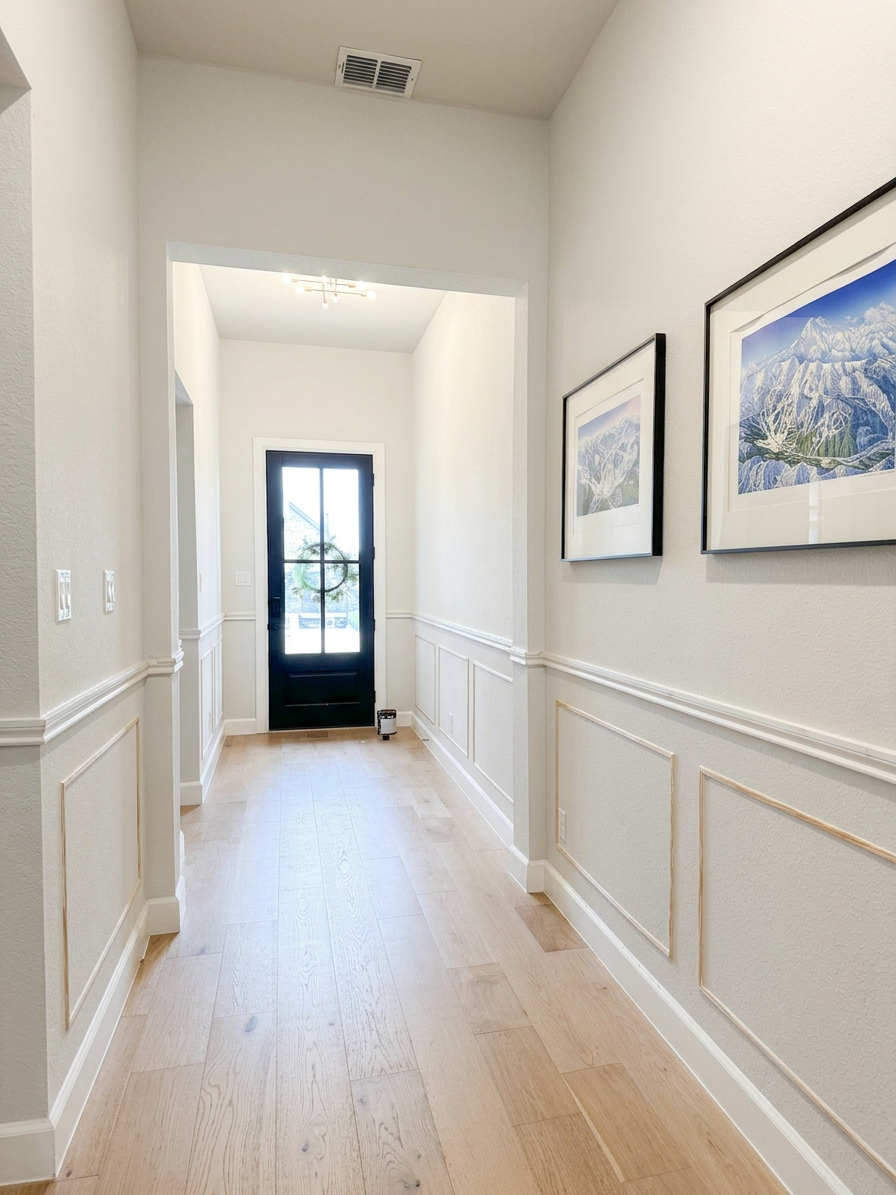
Step 3: We Built the Boxes
Next came the smaller boxes under the chair rail.
My husband measured and cut every piece individually, then attached each one with construction adhesive and nails. It’s tedious. Each box has four pieces, and there are a lot of boxes in a hallway this size. But cutting them individually is what keeps the spacing consistent from one wall to the next.
Step 4: Prep and Paint
Once all the trim was up, we filled, caulked and taped everything off, then painted the lower walls and all of the trim the same color.
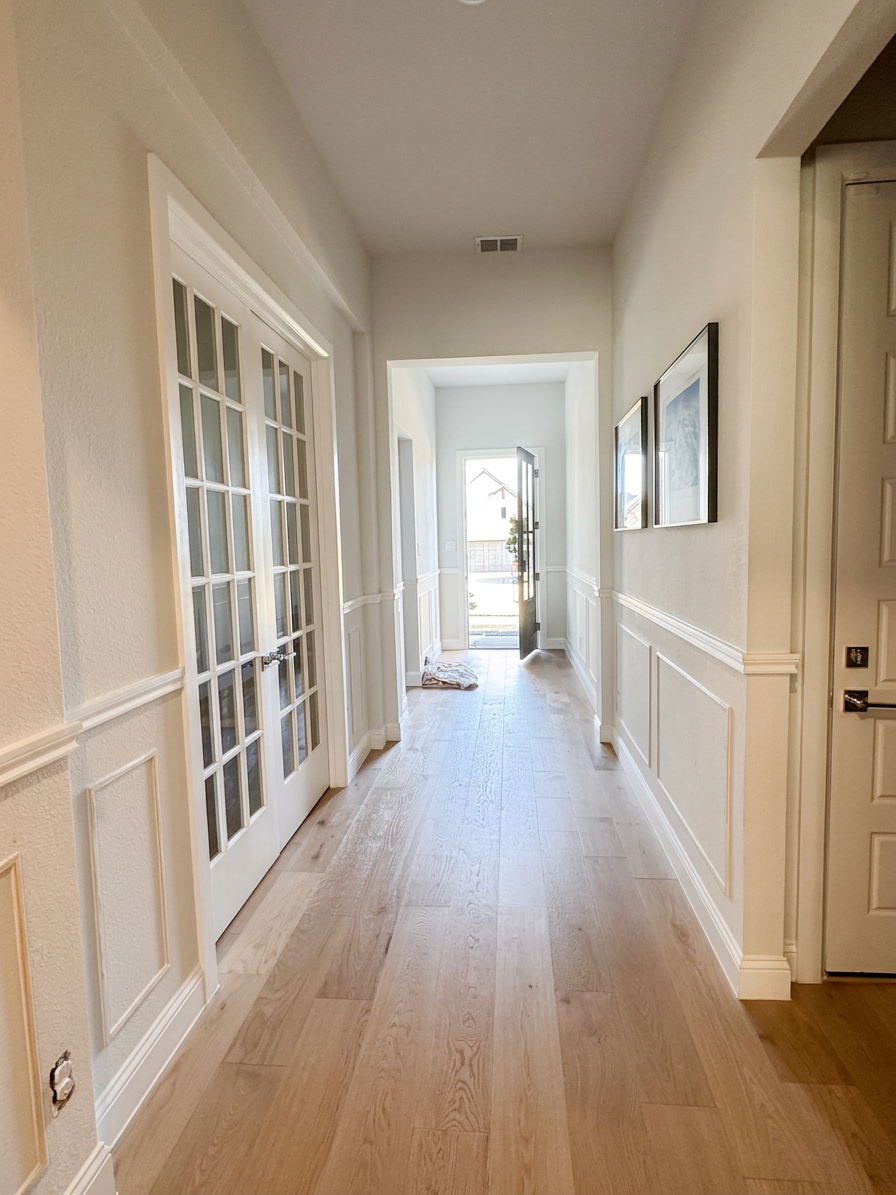
Painting the trim and wall one color is what keeps it subtle. The detail is still there, but it reads as texture instead of contrast.
The Paint Color: Behr Mushroom Bisque
We used Mushroom Bisque by Behr. It’s the same color we painted half of our kitchen island, so it ties the entryway into the rest of the house.
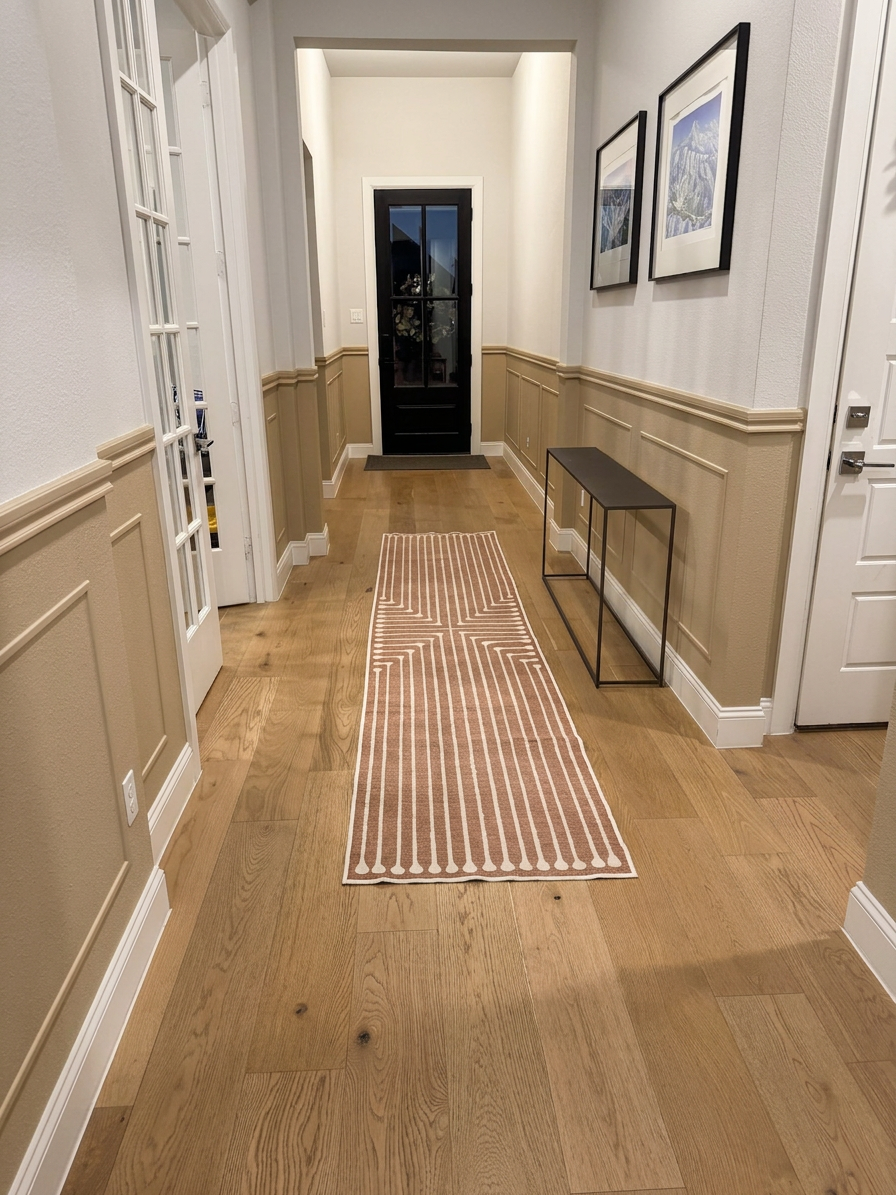
It’s a warm, muted neutral. In person it has enough color to feel intentional against the lighter walls above, without turning the hallway dark.
How Long It Took and What It Cost
We did the whole project over a long weekend. It took about four days.
We spent less than $300 on the trim and paint.
You can buy premade picture frame molding kits on Amazon and other sites, and they would save you the measuring and cutting. But for a space this size, they would have cost us roughly ten times as much. Cutting every piece ourselves took longer, and it was worth it.
Choosing the Entryway Lighting
I knew this could be a statement entryway, so I was thoughtful about the lighting.
One Light Fixture or Two?
I went back and forth on whether to hang two pendants down the length of the hallway or one larger fixture near the front door.
Between the artwork already on the walls and the sconces I was adding outside the office, two hanging lights would have been too much. So we swapped the existing fixture for one bigger gold light fixture near the entry, with these bulbs.
An Honest Review of Our Rechargeable Wall Sconces
We added rechargeable wall sconces outside the office. They come with a remote and can change colors.
I like them, but I’m still not sure I love them. They’re heavier than I expected, and I’m on the fence about the rechargeable part. I usually turn them on in the mornings and evenings as accent lighting, and I charge them about once a month.
If I did it again, I’d spend more time comparing rechargeable sconces with battery-operated ones before buying.
We Kept the Rug
I didn’t want to buy a new rug for this project. Our runner is washable, which matters with kids and dogs, and it’s the right length for the hallway. It already worked, so it stayed.
Is It Finished?
My husband thinks it still feels a little empty.
I think it’s right. The whole point was to stop filling this space with things that got knocked over, and the wainscoting and lighting give it enough on their own. I might add another piece of art at some point, but that’s for another time.
What We Used
- Trim for the chair rail
- Trim for the picture frame boxes
- Construction adhesive and nails
- Wood filler and paintable caulk
- Painter’s tape
- Paint: Behr Mushroom Bisque
- Miter saw
- Nail gun
- Laser level
- Entryway light fixture and bulbs
- Rechargeable wall sconces
Picture Frame Wainscoting FAQ
How much does DIY picture frame wainscoting cost?
Our entryway cost less than $300 in trim and paint because we cut every piece ourselves. Premade kits would have cost roughly ten times that for the same space.
How long does it take to install wainscoting?
Our long hallway took about four days over a long weekend, including painting.
Do you have to remove baseboards to add wainscoting?
Not for picture frame wainscoting. We kept ours and added the chair rail and boxes above them.
What paint color did you use?
Behr Mushroom Bisque, on both the lower walls and the trim.



Leave a comment