This post contains an affiliate link. If you buy through it, I may earn a small commission at no extra cost to you. See my Affiliate Disclosure.
This whole project started with a picnic table.
This past spring, I thought it would be nice to have a table out on the lawn. Our covered patio is on the smaller side, and fitting a table and the grill on it was too tight. So I took a picture of the yard, showed my husband and said, let’s put a picnic table here.
He immediately started drawing something else.
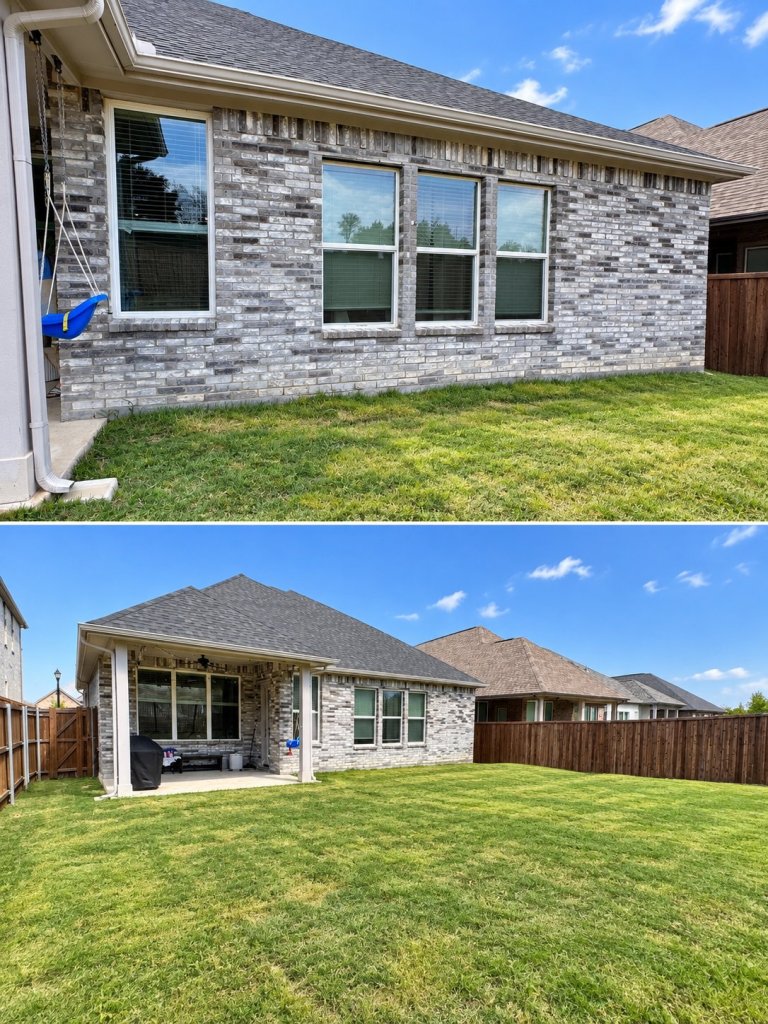
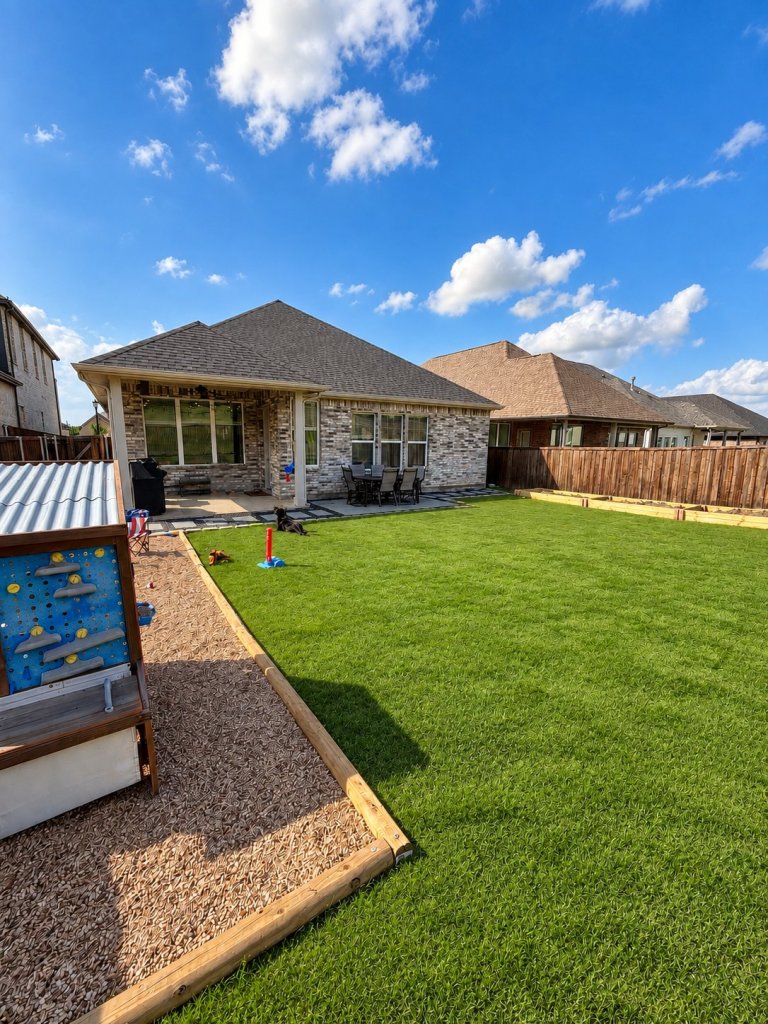
How a Picnic Table Turned Into a Backyard Makeover
Instead of a picnic table on the grass, he wanted to build a paver patio big enough for a real outdoor dining table. Then he brought up the side of the house, where it gets muddy every time it rains, and said we should dig that up and put down rock.
Then I said we should create a kids’ play area. So that got added to the scope of work too.
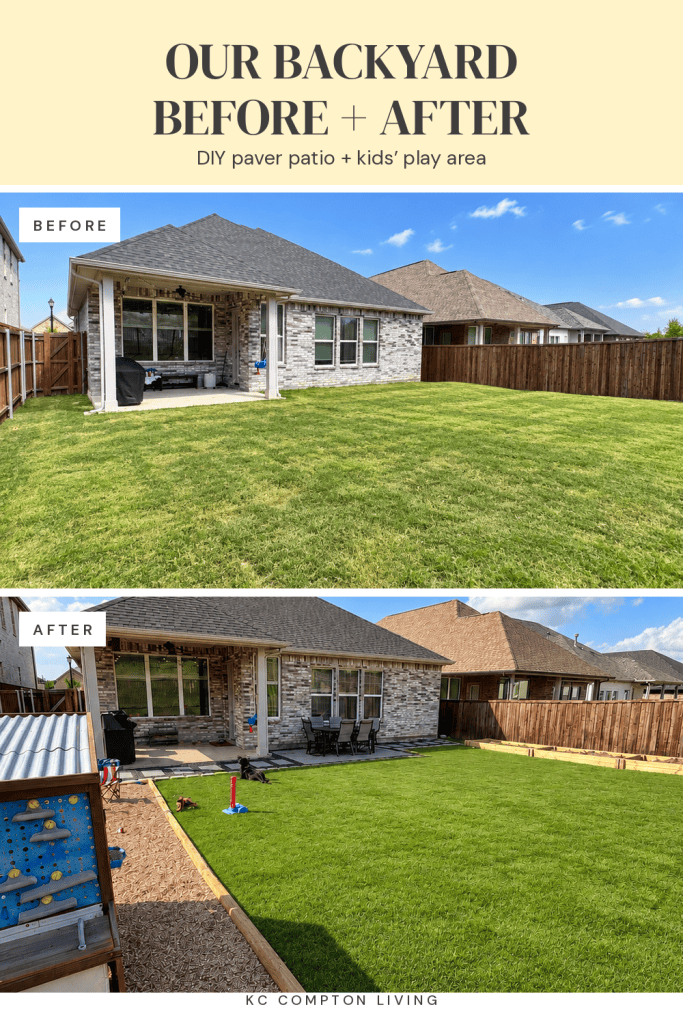
Within two days, our backyard was dug up.
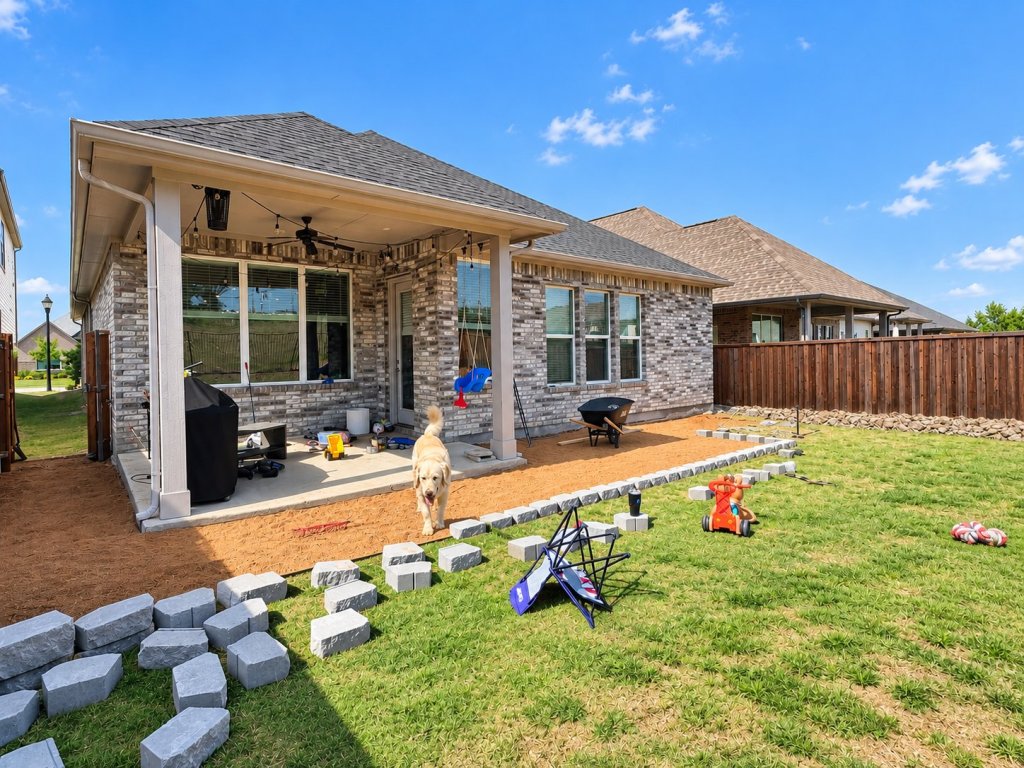
How We Built Our DIY Paver Patio
We sized the patio to fit our 6-person outdoor dining table, with enough room to pull the chairs out and walk around it.
Step 1: Dig Out and Level
My husband dug out all of the dirt in the patio area first, then leveled the ground.
Step 2: Outline It With Edging Blocks
Next, he outlined the whole area with edging blocks and leveled those too. The border is what keeps everything inside it in place.
Step 3: Add a Decomposed Granite Base
Inside the border, we brought in decomposed granite and leveled it out. It packs down into a flat, stable surface for the pavers to sit on.
Step 4: Weed Barrier and Pavers
Then came the weed barrier and the pavers. He cut the pavers individually to fit and leveled every one of them.
Step 5: Fill With Rock
The last step was filling in around the pavers with rock. This is also where we made our biggest mistake.
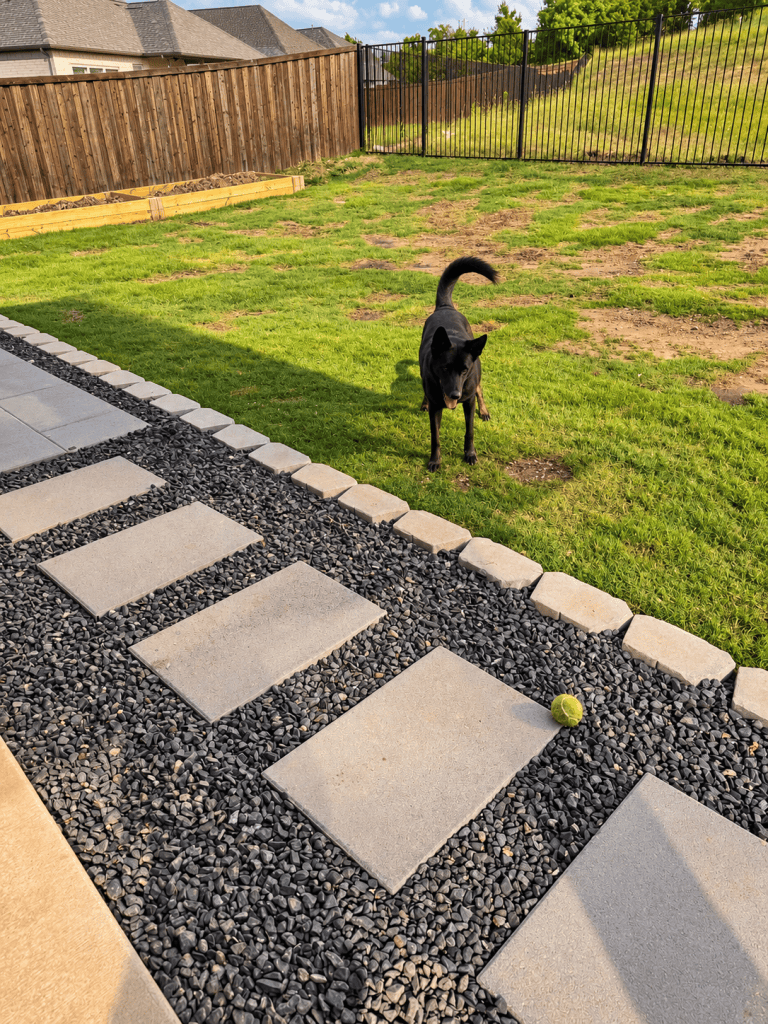
The Pea Gravel Mistake
We ended up doing two rounds of rock.
The first time, we used pea gravel. It was the least expensive option, and we didn’t think it through. Within a week, we realized it was a huge mess. The small pebbles got kicked out of the patio and ended up everywhere.
So we dug it all back up and brought in larger rock. The larger stones stay where they belong, and the patio looks a lot cleaner.
The pea gravel didn’t go to waste. It went into the kids’ play area, where a softer, looser surface actually makes sense.
If you’re planning a patio with rock between the pavers, the cheaper option can cost you more in the end. Skip the pea gravel and go with a larger rock from the start.
Fixing the Muddy Side Yard
The side of our house used to turn into mud every time it rained. We dug that area up and replaced it with rock, so it stays clean and we’re not tracking mud back into the house.
The Kids’ Play Area
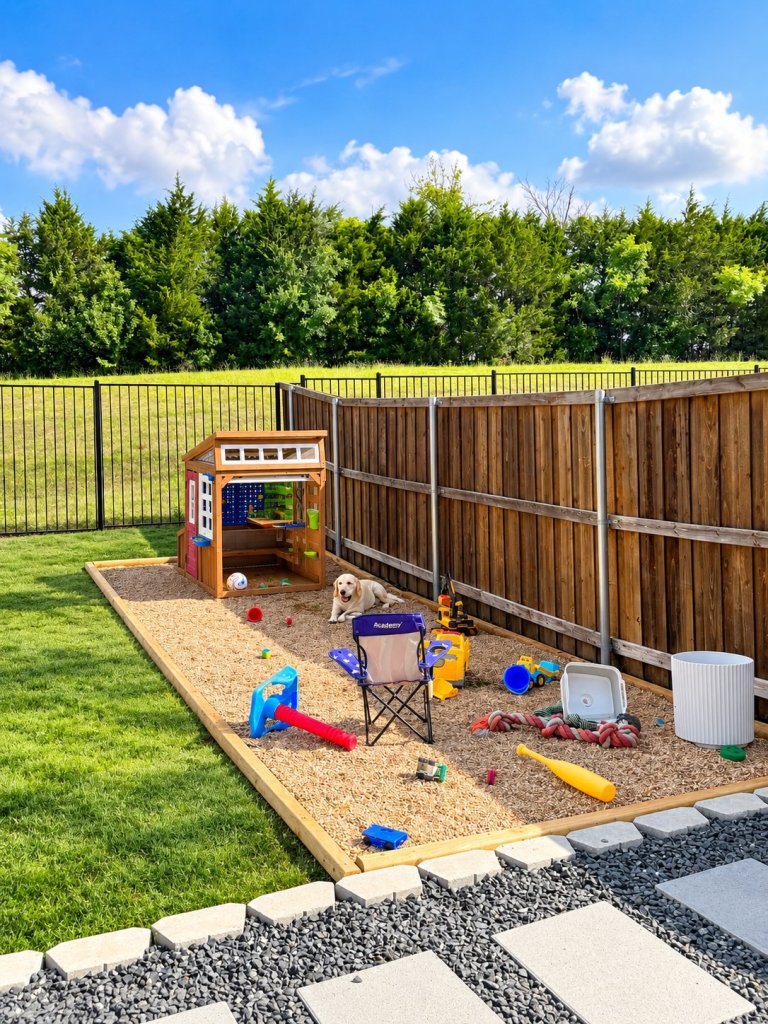
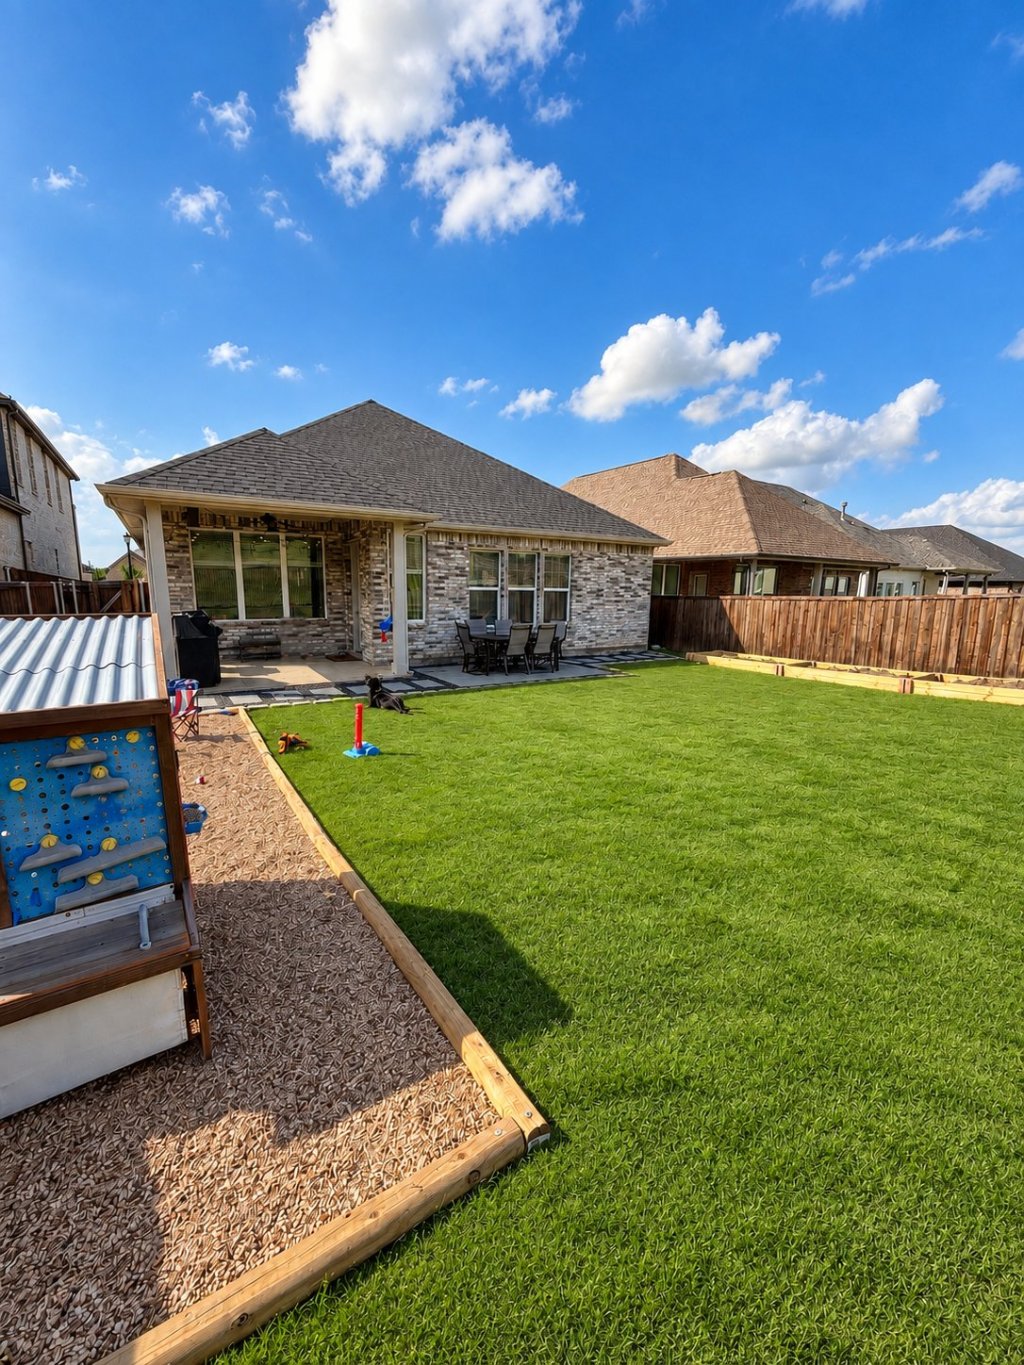
The play area was my addition to the plan. It has a bordered section filled with the pea gravel from our first round of rock, a playhouse and plenty of space for trucks, shovels and whatever else ends up out there. The dogs like it too.
What We Did With All That Dirt
Digging out a patio leaves you with a lot of dirt. We moved ours along the side fence, and since then we’ve built garden beds around it.
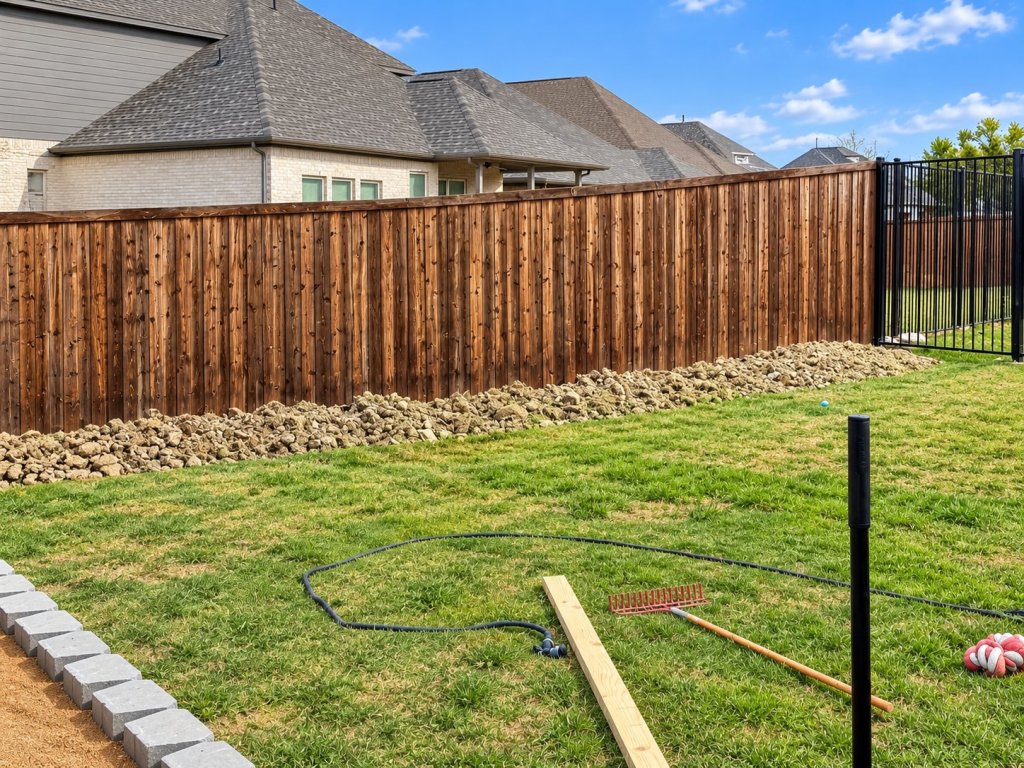
Next spring, we’ll plant and build out a full garden. That will be its own post.
How Long It Took and What It Cost
The whole project cost us under $2,000, not including the table.
It took a little over two weeks, working on it on and off. My husband did all of the manual labor himself, and this is Texas, so it got hot. Digging, leveling, hauling rock and cutting pavers by hand in that heat is a lot of work.
A Heads-Up If You Live in an HOA
We had materials delivered to our driveway multiple times from a local rock company and Home Depot.
Apparently, dirt and rock in your driveway is not allowed in our neighborhood, even for a day. We received multiple certified letters from our HOA about it.
We moved quickly through the project and finished before it turned into any fines, but it’s the downside of living in a neighborhood. If you have an HOA, check the rules on driveway deliveries before you order.
The Best Part
Once the patio was done, we finally got our outdoor dining table. We eat dinner outside as a family all the time now, and it’s my favorite thing about our house.
All because I wanted a picnic table.
What We Used
- Edging blocks
- Decomposed granite for the base
- Weed barrier fabric
- Concrete pavers
- Larger rock for the patio and side yard
- Pea gravel for the kids’ play area
- Wheelbarrow, shovels and a rake
- 6-person outdoor dining table
We bought our rock from a local rock company and the rest from Home Depot.
Backyard Paver Patio FAQ
How much does a DIY paver patio cost?
Our whole project, including the paver patio, the rock side yard and the kids’ play area, cost under $2,000 doing all of the labor ourselves. That doesn’t include the outdoor table.
How long does a DIY paver patio take?
Ours, along with a rock side yard and a play area, took a little over two weeks working on and off.
Is pea gravel good between pavers?
Not in our experience. It was the cheapest option, but it got kicked out and spread everywhere within a week. We replaced it with larger rock and moved the pea gravel to the kids’ play area.
What base do you put under pavers?
We used decomposed granite, leveled over the dug-out area, with weed barrier on top before the pavers went down.
What can you do with dirt from digging a patio?
We moved ours along the side fence and built garden beds around it.



Leave a comment